As with many things in life, if it’s a good fake, it fools everyone. So, when it comes to spotting fake antiques, you’re going to need more than just good instincts – though they will help!
Knowledge is king. The more you know about antiques, the better. So we’ve put together a handy checklist, to help you identify the real from the reproductions. We have broken it down into the most popular antique categories, pointing out some specifics on what to look out for and what to equip yourself with. After all, The devil is in the detail.
But first, what is an antique? There is much dispute over the details of what classifies something as an antique, however in its most basic definition, it is something over 100 years old. So anything which dates prior to 1900, is definitely an antique. When is doubt, ask. Sounds obvious, I know, but the dealer should be honest as to whether it is a replica, a restored antique or the real deal- all three are valuable in their own rights, as long as sold as such. Though remember great fakes can even fool the masters, which is why we’re encouraging you to do a little of your own detecting.
Okay Sherlock. Let’s get to work!
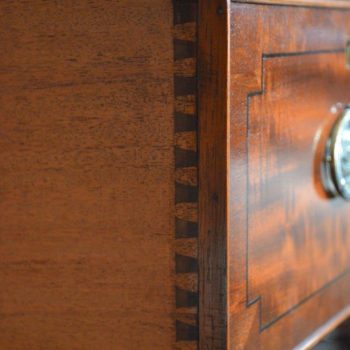
Based on the type of wood used, you can normally decipher the age of the furniture, and thus whether it’s an antique.
What it’s made of is only one piece of the puzzle. The way something is constructed is also a good indicator of era.
As well as the specifics of how a piece was manufactured, the general look and feel of the wood also plays a huge part. It’s also important to consider how the piece has aged.
When trying to establish whether something is an antique, a black light is very useful. Make sure you keep one handy, as you’ll see its use pop up a lot over the next few categories.
Saint-Cloud manufactory soft porcelain bowl, with blue decoration under glaze, 1700–1710.
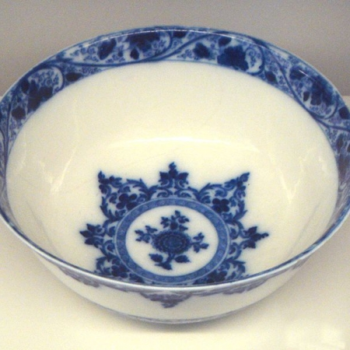
How and from what porcelain is made, helps us indicate its age.
If a piece is too heavily restored, it is no longer an antique, which is often the case with porcelaine. Being so fragile, the older it is, the more risk it runs at having been broken. Try these tricks to help determine whether repairs have been made:

People are happy to part hands with huge sums of money when it comes to art, especially antique art. Just yesterday, ‘Salvator Mundi,’ a painting believed to be Leonardo da Vinci’s and painted in 1509, sold for a record breaking $450m at Christie’s in New York. However there is still some controversy over its authenticity. One critic said about it, that it looked “inert, varnished, lurid, scrubbed over and repainted so many times that it looks simultaneously new and old” http://www.bbc.com/news/entertainment-arts-42000696.
This only goes to show the difficulty in deciphering a genuine antique painting, and the huge incentive for someone to try their hand at faking it. Paintings often get restored or touched up, and as I said earlier, though a good repair can add value to an object, a bad one can seriously devalue it. Using a black light can help you make your mind up:
Modern paint will fluoresce under black light. So if the whole thing lights up when you shine on it, it’s a sure sign of a reproduction.
Using the same technique, touch ups and painted repairs will be obvious to spot using a black light.
Material is what tells the story of time in this category, so work out what it’s made from.
Vaseline glass image provided by: https://www.antique-hq.com/7-tips-to-authenticate-antiques-using-black-uv-light-540/
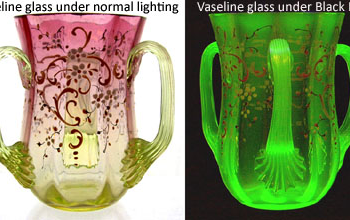
The first thing to do with glass is check the bottom and sides to see if it’s marked -you may need to use a magnifying glass. If you find a mark, check it against a glassmaker marks book, or do an internet search to determine the manufacturer and thus its age. If it’s not, use these techniques to tell you:
As a general rule, real antiques will show signs of WEAR AND TEAR, in places where they would have come into contact with another surface or a human over the years of their existence. Fraudsters will go to great lengths to try and fool you, even beating furniture with a chain, but the inconsistency and extent of the marking normally tell the truth about age. After all, we all get wrinkles in the end. A lot of detecting antiques will come down to knowing your facts, putting these practises into play and using your instincts.
Good luck Sherlock.
View the selection of antique furniture we have for sale.
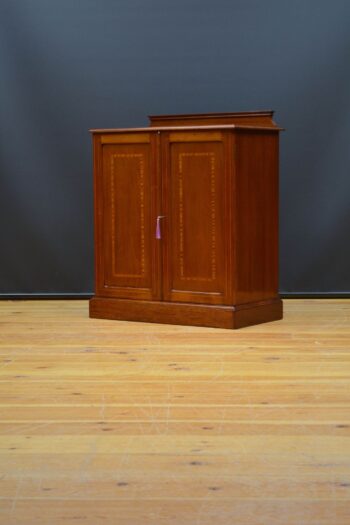 Edwardian Mahogany Two Door Cabinet Low
£1,395.00
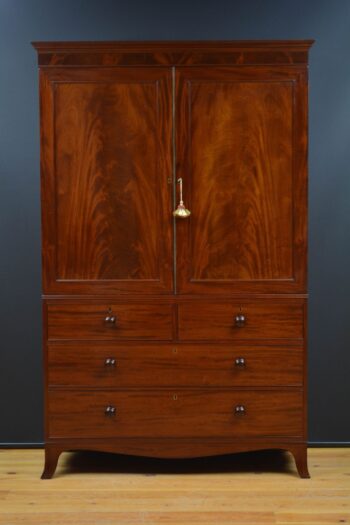 English George III Mahogany Linen Press
£3,500.00
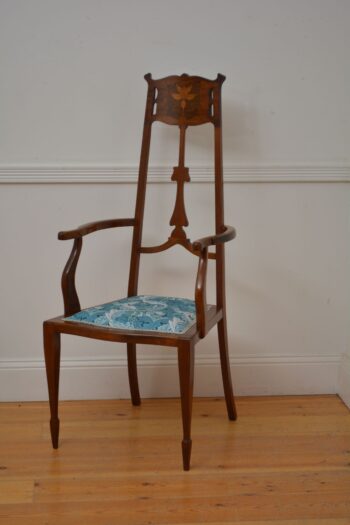 Art Nouveau Mahogany Armchair / Side Chair
£1,185.00
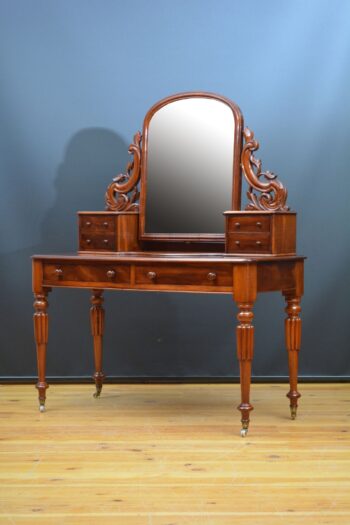 English Victorian Mahogany Dressing Table
£1,695.00
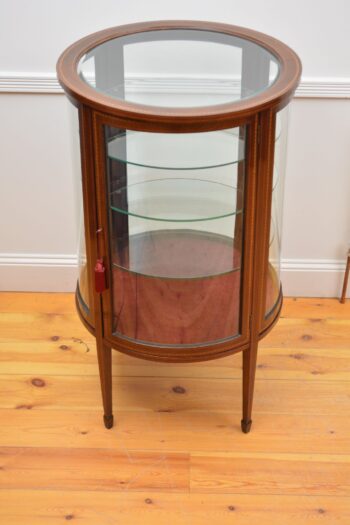 Large Cylindrical Edwardian Display Cabinet
£1,850.00
| Cookie | Duration | Description |
|---|---|---|
| cookielawinfo-checbox-analytics | 11 months | This cookie is set by GDPR Cookie Consent plugin. The cookie is used to store the user consent for the cookies in the category "Analytics". |
| cookielawinfo-checbox-functional | 11 months | The cookie is set by GDPR cookie consent to record the user consent for the cookies in the category "Functional". |
| cookielawinfo-checbox-others | 11 months | This cookie is set by GDPR Cookie Consent plugin. The cookie is used to store the user consent for the cookies in the category "Other. |
| cookielawinfo-checkbox-necessary | 11 months | This cookie is set by GDPR Cookie Consent plugin. The cookies is used to store the user consent for the cookies in the category "Necessary". |
| cookielawinfo-checkbox-performance | 11 months | This cookie is set by GDPR Cookie Consent plugin. The cookie is used to store the user consent for the cookies in the category "Performance". |
| viewed_cookie_policy | 11 months | The cookie is set by the GDPR Cookie Consent plugin and is used to store whether or not user has consented to the use of cookies. It does not store any personal data. |